Part seven of the CR250 engine build. Now that the bottom end is done, we can turn our attention to the top end. Top end segments include, cylinder and cylinder head prep, power valve installation and set-up, piston and rings, reed valve and carburetor.
This segment will cover power (or exhaust) valve installation.
The exhaust valve or HPP (Honda Power Port) on these engines was very effective and comparatively low maintenance.
Tools needed: circlip pliers, torque wrench that will measure down to 4 lb.ft. and standard metric tool assortment.
Thoroughly decarbon and clean the power valve components. I have found that a common oven cleaner aerosol does a good job of removing the carbon buildup on these components. Once you remove the carbon, clean all the parts in a solvent based cleaner and dry with compressed air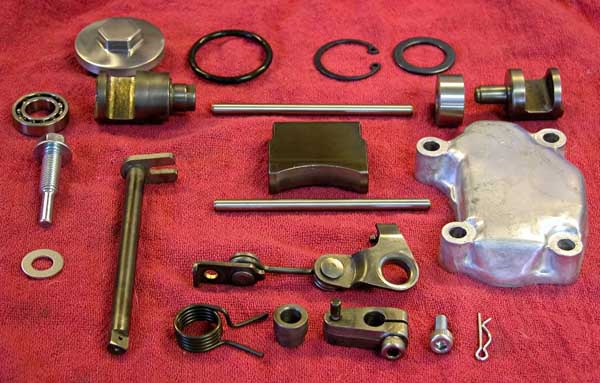
Power valve components. The two shafts are identical. Most of these parts came out of a high time CR. They were cleaned, NDIed, decarboned and checked to be in spec. Items out of spec were replaced, the rest will function as good as new.
Apply moly 60 grease to the flap valve shaft and install the flap valve through the exhaust outlet with the ridge facing up. Line up the round hole in the flap valve and insert the flap valve shaft. Check that the flap valve moves up and down freely. Coat the left sub exhaust valve with your favorite two stroke oil and set it aside. Apply moly 60 grease to the sub exhaust valve shaft and insert it into the left sub exhaust valve you just oiled. Insert the sub exhaust valve assembly into the cylinder passing the shaft through the elongated cutout on the flap valve. Apply an anti seize compound to the threads of the stopper bolt and install it along with the flat washer into the top of the cylinder and torque to 4 lb.ft.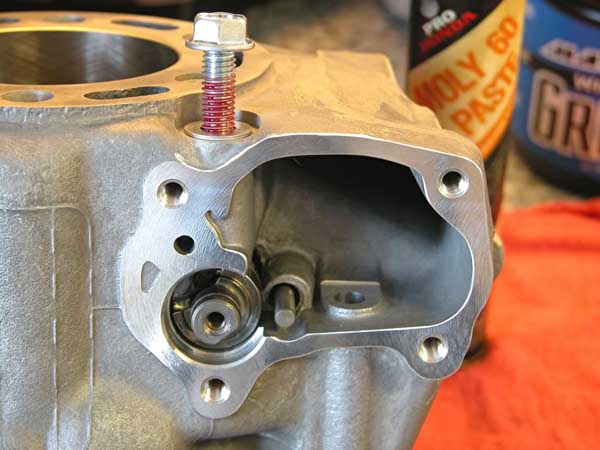
Coat the bearing with two stroke oil and install.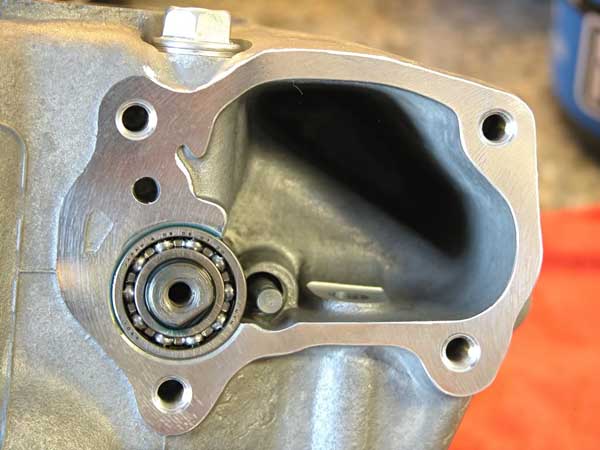
Apply two stroke oil to the right sub exhaust valve and install it into the right sub exhaust valve port lining it up with the sub exhaust valve shaft previously installed.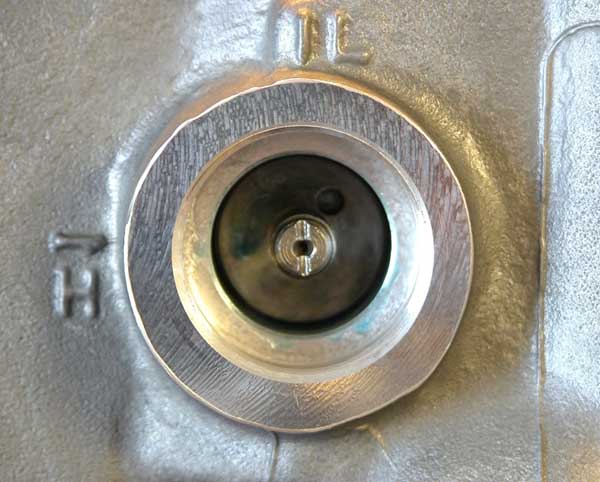
Coat the bushing with two stroke oil and install it.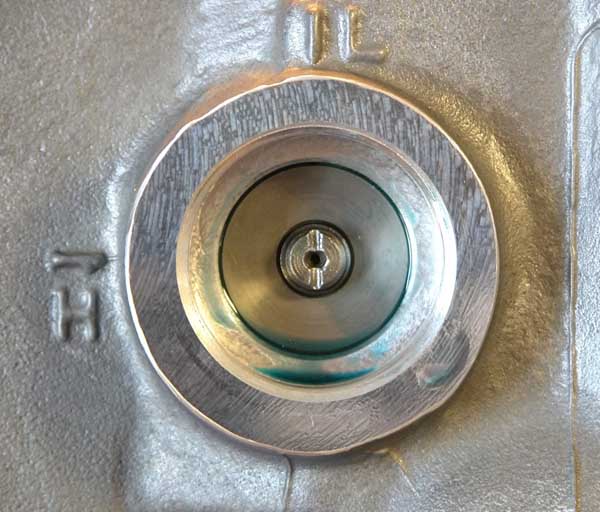
Finally, install the circlip making sure it is seated.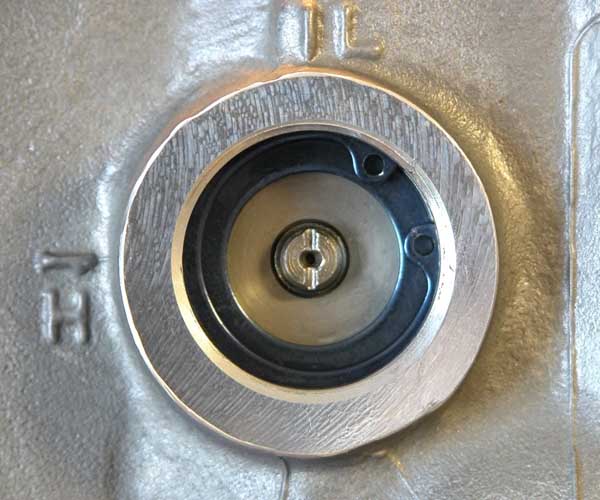
Mix up another batch of molybdenum disulfide grease and transmission oil at 50/50. Aplly the mixture to the joint areas of the valve link. Assemble the valve link components.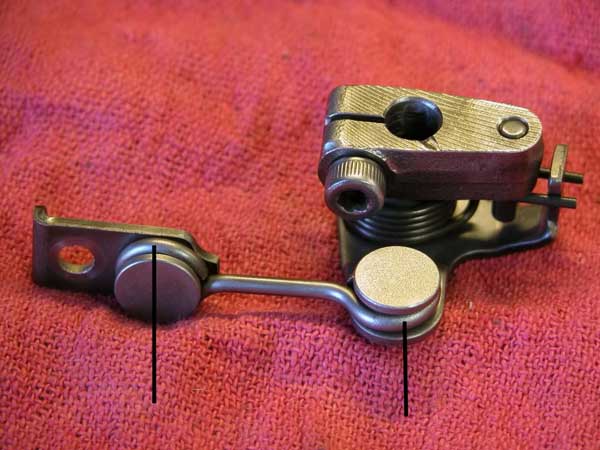
Apply grease to areas indicated.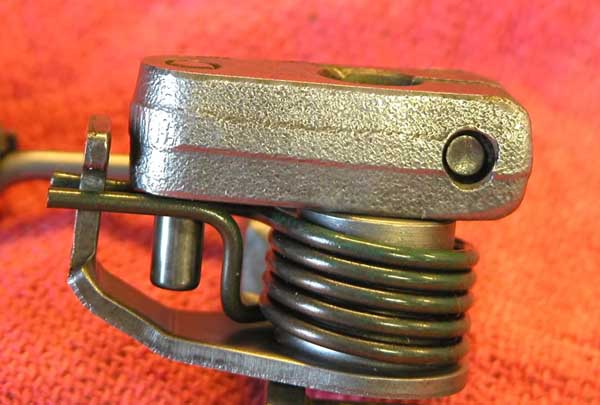
closeup showing spring orientation.
Install the valve link assembly into the cylinder, attach the valve lever to the right sub exhaust valve with the socket bolt and torque to 4 lb.ft.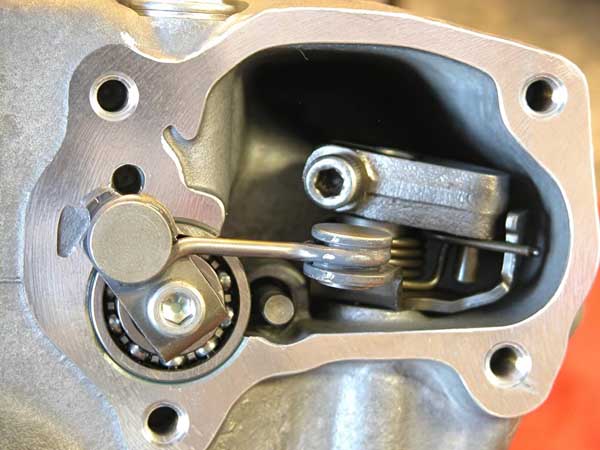
Coat the drive shaft and bushing with multi- purpose grease and install through the bottom of the cylinder and seat the end of the drive shaft in the drive pinion. Snug the socket bolt on the drive pinion but do not tighten yet. Install the spring clip.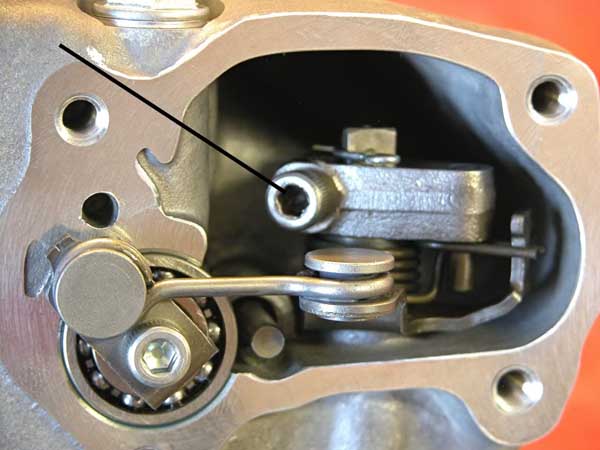
Socket bolt on drive pinion.
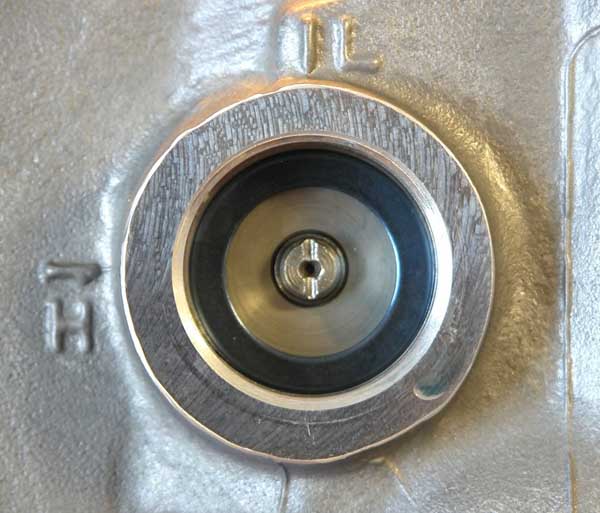
Operate the exhaust valve lever by hand and check that the flap valve opens and closes. Now check that the mark on the left sub exhaust valve points to “L” when the valve lever is fully counterclockwise and the flap valve is closed.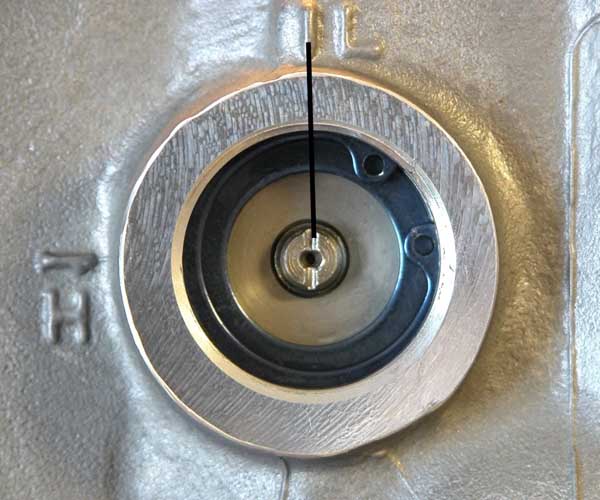
Left sub exhaust valve pointing to “L”.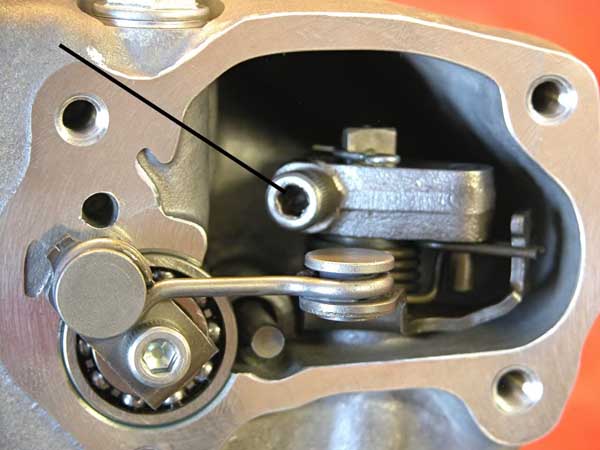
valve lever shown fully counterclockwise.
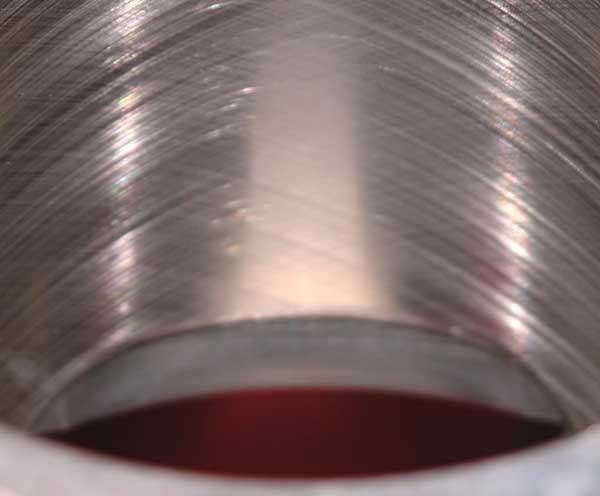
Flap valve shown in closed position
Turn the valve lever fully clockwise and check that the left sub exhaust valve point to “H” and the flap valve is open.
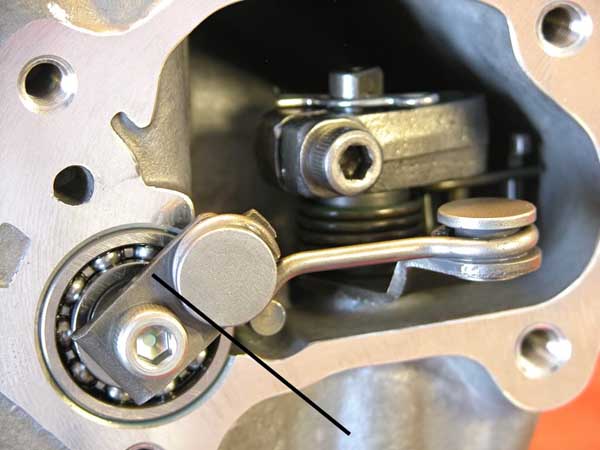
Image of valve lever fully clockwise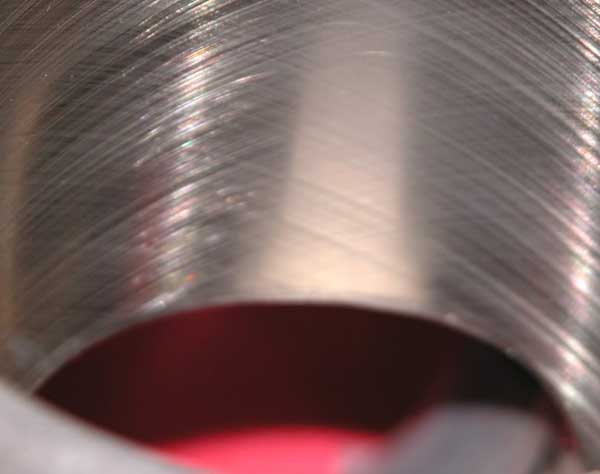
Image of the flap valve open.
Once you have completed the functional check, tighten the socket bolt on the drive pinion to 4 lb.ft.

