Part three of the CR250 engine build. This installment covers combining the two center cases, installing the seals, clutch lifter lever and primary gear.
Tools needed: Case splitter or crankshaft installer/remover, engine stand, torque wrench and standard metric tool set.
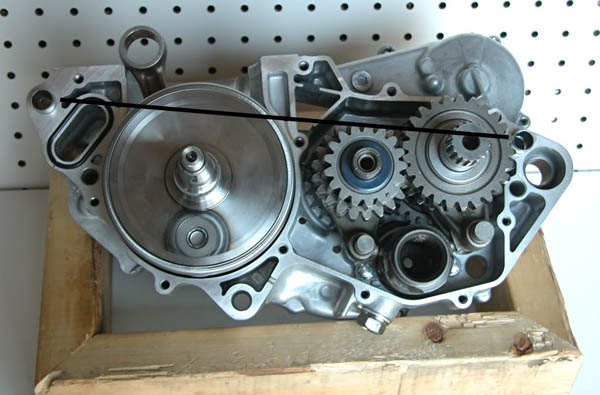
Now that you have installed the transmission gears, crankshaft and gear shift mechanism you are ready to join the two case halves. Apply transmission oil to the two dowel pins and push them into the holes located at the top left and right corners of the right side center case.
Lay a new center case gasket on the right side center case using the dowels you just installed to properly locate it. Install the vent breather tube into the left side center case and place the case on the ignition side of the crankshaft. Install either a case splitter or the crankshaft installer to the left side of the crankshaft. Ensure the cases have a constant gap and begin tightening the installation tool checking that the gap stays constant the whole time. Use your hand or lightly tap with a rubber mallet to help coax the constant gap and alignment while tightening.
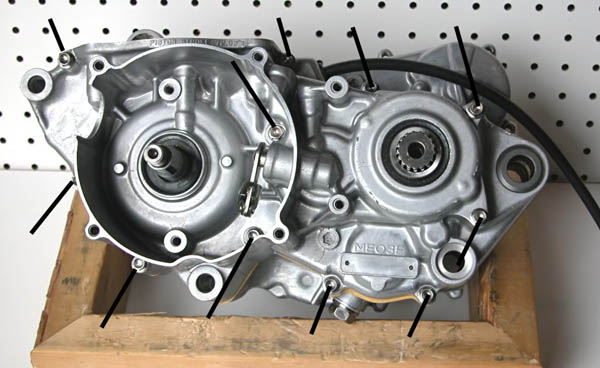
Once the cases are seated together, install the eleven 6mm hex bolts and torque them to 7 lb.ft. in three steps using a cross hatch sequence.
Cut and trim the excess gasket material being careful not to damage the cylinder base surface. Also, don’t let any of the gasket material fall into the crank well.
Spin the crank and the primary gear shaft to check for binding. Everything should turn smoothly and quietly.
Turn the engine over with the ignition side face down in the stand. Fill the lips of the right side crank seal with grease and place it around the crankshaft. Use either the appropriate size seal driver or a socket will suffice. Install the case splitter again and drive the seal into the case until the seal is exactly 1mm below the case lip (this is why you can’t use a socket and a hammer). Flip the case over and repeat the process with the left side crank seal only this time the seal has to be exactly 2mm below the case lip.
Repeat the process once again for the countershaft seal placing it exactly 1mm below the case lip. Finally install a new seal in the clutch lifter lever seal boss (no depth requirement here). These seal depths are important and are well documented and diagramed in the Honda service manual.
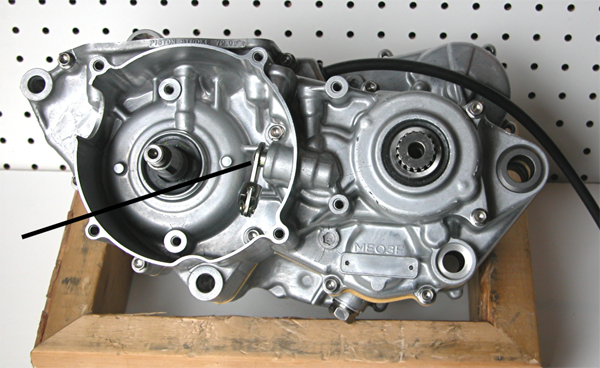
Once the seals are done, install a new Oring in the countershaft collar, coat the collar with grease and install it with the Oring side toward the engine. Next apply grease to the crankshaft collar and install it between the crank and right side seal. Coat the clutch lifter lever with grease and insert it into the hole inside the ignition housing
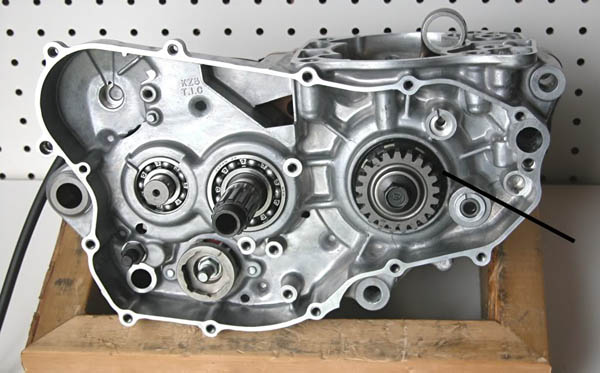
Last item is to install the primary drive gear. Temporarily install the clutch outer onto the mainshaft. Place the primary gear on the crankshaft followed by the correct washer and bolt. Place a gear jammer (or a penny) between the primary gear and the clutch outer gear and torque the primary gear to 33 lb.ft.
Stay tuned for Part 4.


