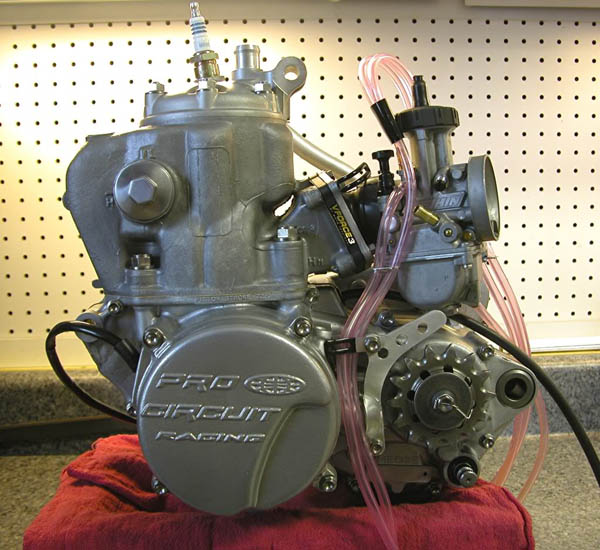
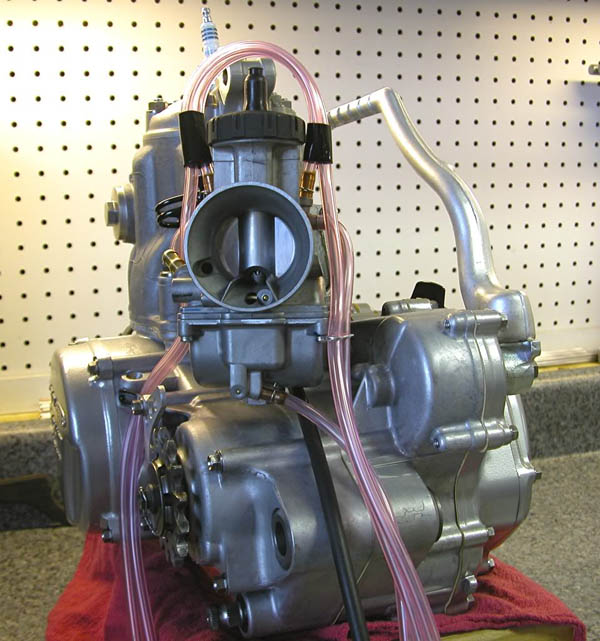
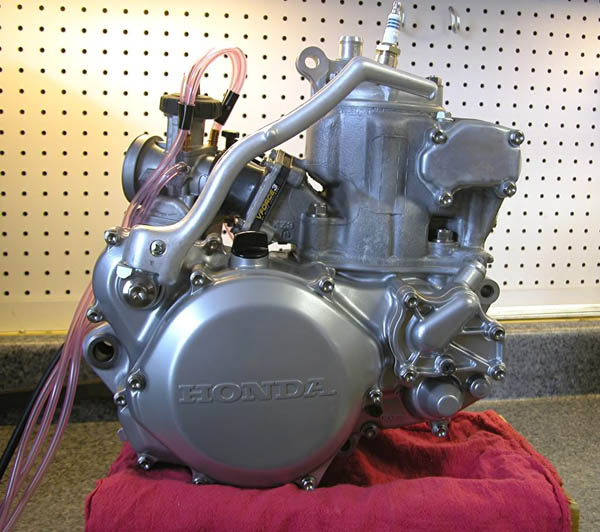
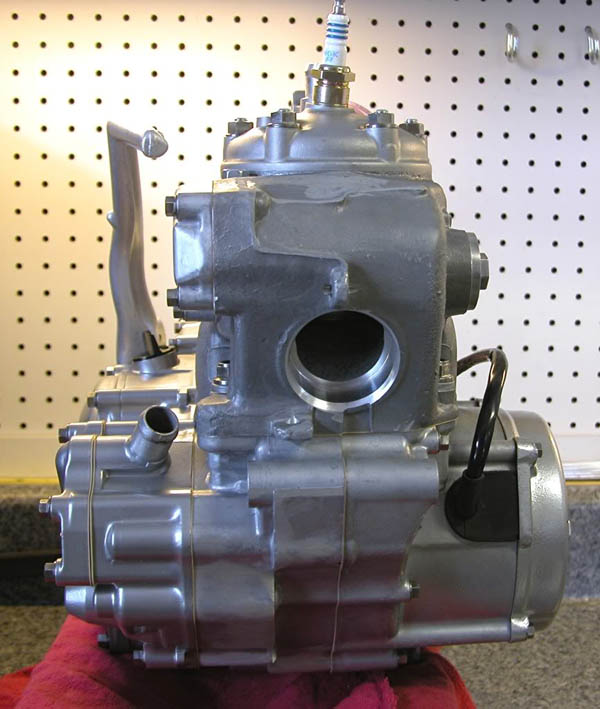
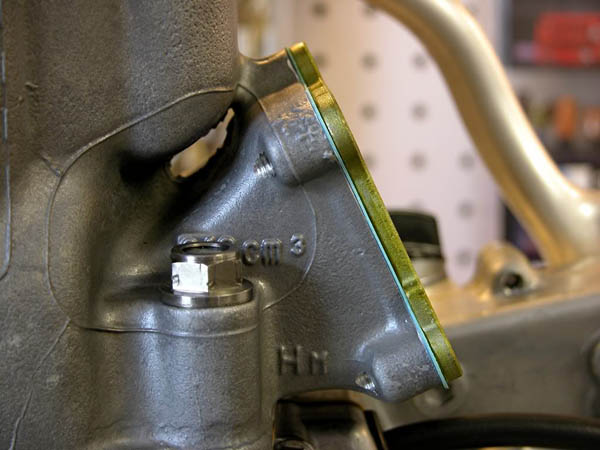
This is part nine and the final part of the CR250 engine build and will cover head, reed valve and carburetor installation. I will also perform the initial leak down test.
Tools needed: Torque wrench, leak down tester, metric tool assortment
Apply oil to the six cylinder head studs and install them into the cylinder. Torque the studs in three steps and in a criss cross pattern to 9 lb.ft.
Again use a stud tightener or two opposing flange bolts to properly torque the studs.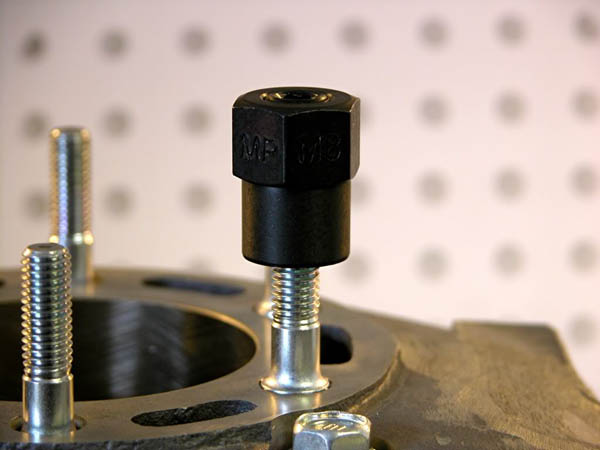
Place a new head gasket with the “up” mark facing up and aft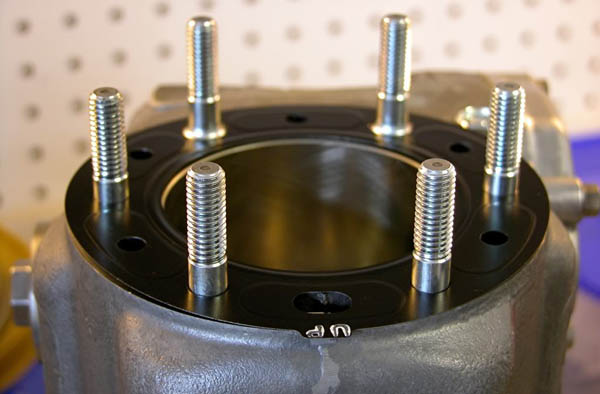
Install the cylinder head and apply oil to the cylinder head studs and landings.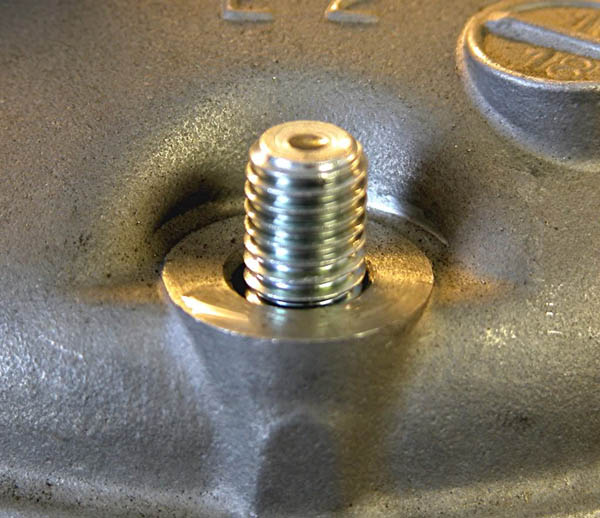
Install the six cylinder head nuts and hand tighten. Torque the nuts in three steps and a criss cross pattern to 20 lb.ft.
Install the reed valve with a new gasket into the cylinder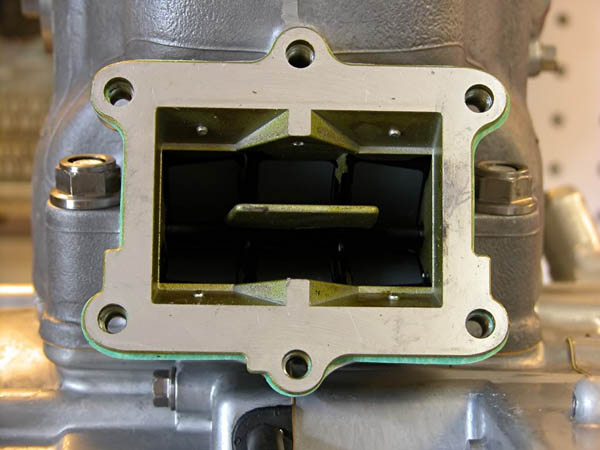
Install the intake manifold with the intake oriented to the left. Apply oil to the six intake bolts and install the bolts along with the throttle cable
retainer. Torque the bolts in three steps and in a criss cross pattern to 7 lb.ft.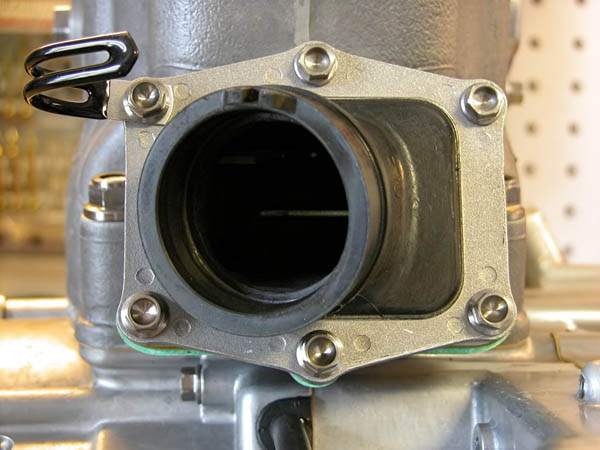
Now is a good time to perform the initial leak down test. Cycle the piston to bottom dead center (BDC). Install the spark plug and torque to
13 lb.ft. Install a exhaust plug to seal the exhaust outlet. Attach the tester to the inlet and seal with a hose clamp.
Pump the tester to 6 psi and start timing. An acceptable loss rate is 1 psi/min. Less is better.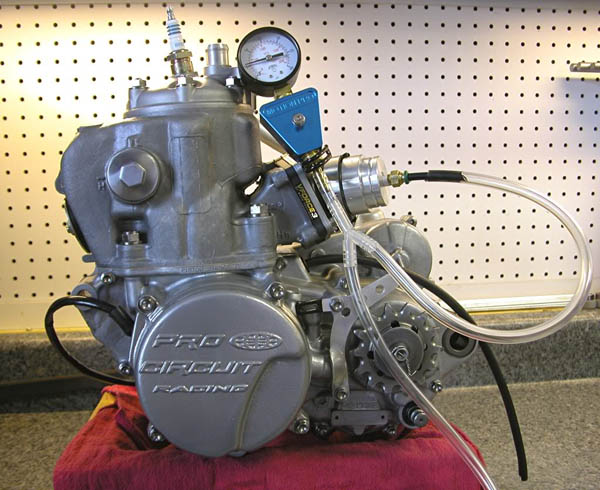
Remove the test equipment and the exhaust plug. Install the carburetor aligning the tab on the carb intake bell with the notch in the rubber intake boot. Tighten the intake clamp snugly and give yourself a big thumbs up for completing a total engine build.